Showing posts with label SuperCard Pro. Show all posts

Trash to Treasure - Osbourne 1a Computer

 The Osbourne One is widely regarded as the first portable computer.  It was released in 1981, and although it didn't include a battery, it was advertized that it could fit under the seat of an airplane.  I have a soft spot for CP/M machines and so I've had the Osbourne 1 on my wish list for a couple of years.

Last year my friend Steve gave me a "fixer upper" Osbourne Executive.  That was an interesting machine, too, and this example was is really good cosmetic shape.  I spent quite a few hours restoring the machine, working on the CRT alignment, cleaning and lubricating the floppy disk drives, making boot media, and troubleshooting the main board.  But ultimately, I was not able to get it booting.  I isolated the fault to the main logic board, I think there is something wrong with the floppy disk controller because the machine can move the drive heads and step to tracks, but when it starts to boot, it reads in track zero, steps the head to the next track, then stops responding.  The machine behaves the same way with a Go-Tek drive emulator, so that's why I'm pretty sure the fault lies with the main logic board.  So I had put that repair on hold and was going to come back too it.

However, a more interesting option presented itself a couple of weeks ago.  I was shopping at Free Geek Twin Cities as I often do and they mentioned that an Osbourne had just come in.  It was in really rough shape, quite yellowed, and keys missing from the keyboard, but it appeared to be booting and asking for a boot floppy.  It wouldn't boot from the disk that had been left in the drive, but in my experience almost all of these drives from the early 80s need cleaning and lubrication before they can work correctly.  So, they offered me a good price on the Osbourne as a project machine and I purchased it...

The first order of business on a restoration like this was for me to get the machine booting.  I started by making some "known good" boot disks using my SuperCard Pro disk imaging setup.  I think I've covered this workflow before, but my current workflow for making boot disks for new to me machines is to find disk iamges on Dave Dunfield's site here.  I then use the fantastic tool HxE Floppy Emulator Software to convert the IMD disk image format to the SCP flux format used by my disk imaging hardware.  Then, I use the SuperCard Pro to write out the disks to hardware.

One hack that I've learned on the hardware side with these CP/M Machines is that since they must boot off Drive A it will have alot more wear and tear on it.  It makes sense to swap Drive A and Drive B as well as service both drives.  In this case, the drives mechanisms were from two different vendors but the control boards were the same.  The Osbourne 1 has power going to the floppy drive over the ribbon cables, this was not the case for the Osbourne Executive.  It turns out that all you need to do to tell which drive is the A drive is swap the termination resistor, there are no other jumpers on the drive controller board, after this the machine was booting!

Once I got the machine booting, it was time to swap over the external case parts from the Executive.  This article explains the differences between the very early Osbourne One computers and the 1a model that I have here.  I was quite fortunate to have purchased the 1a, not realizing at the time, but the case is exactly the same shape as the Osbourne Executive.  The front bezels are unique, so I cleaned up the front bezel of the Osbourne One with soapy water.  The Executive had a bulge under the handle in order to accommodate a fan, but many people feel the machine should have had a fan so I'm happy to have that as part of my Osbourne One even if it's a slight anachronism.

Another surprising item was that although the keyboards look identical and have the same connector they do not appear to be compatible with one another (I guess the analogy would be the XT and AT keyboards with the same connector but different scan codes). So, I removed all the yellowed keycaps from the Osbourne 1 computer and swapped the keyboard over into the Executive Housing.

The machine turned out lovely, I'm very happy with how it looks...

From the sides it is even more of a contrast as the old case was badly yellowed.

I'm glad to have the machine booting and running, but I would also like to add a Go-Tek with Flash-Floppy firmware.  I'm not quite sure how to do that with the non standard drive wiring on the Osbourne One, but that will be a project for another day.

Kaypro - An Iconic (and Nostalgic) CP/M Machine

Kaypro computers have long been nostalgic for me.  My grandparents had a Kaypro and I remember thinking how impressive of a computer it was.  Very rugged and industrial compared with my VIC-20 connected to a color TV.  I was recently offered a Kaypro from a trusted seller whom I've done business with before and I was most happy to be the next owner of a Kaypro 2X from 1984.

The naming of the Kaypro model numbers is a bit odd, but if you are interested, this article explains the timeline quite well.  The 2X is one of the final machines, but they all looked quite similar to the rest of the line.  I think they may have used the same case dimensions through the entire run of models.  From the outside, the distinguishing characteristic of the later systems is the 1/2 height drives instead of full height.  

My repair story started with finding and reading the relevant sections of the technical manual from BitSavers.  The first problem to overcome was that the CRT display was not working.  You could see that the tube was working, but the display was rolling.  By figuring out which of the three CRTs (Toshiba) was inside, I was able to locate the adjustment Pots and get the display solid.

The next challenge was to get the Kaypro booting.  I didn't have any Kaypro media, but as readers will know I've got a SuperCard Pro flux disk imaging system.  I've recently figured out a new workflow for that which has allowed me to create bootable disk images for several different retro systems, including the DEC VT-180 Robin and now this Kaypro.  Here is that workflow at a high level:
    Find Appropriate Bootable Disk Images for the Target System
    Use HxCFloppyEmulatorSoftware from this page to convert Disk Images into Flux Image Files
    Use Flux Imaging Tool to write out Floppy Disks, in my case SuperCard Pro.

Once I had floppy disks I was ready to try booting the machine. Sadly the unique push-button floppy drives in the machine were not working. Neither drive would eject a disk.  In the short term I was able to find a working DS/DD 5 1/4" drive from my parts bin that worked with the Kaypro.  Jumpering this as Drive 0 I was able to see the machine boot into CP/M for the first time.

Next on the agenda for the Kaypro was a through cleaning.  This was a dusty and dirty machine, both inside and out, but like many of the 80s systems, it was quite easy to take apart all the way down to the board level, so I did this both for the computer and the keyboard.  I washed the housings with warm soapy water and set them aside to dry, then cleaned the circuit boards w/ Isopropyl Alcohol, including the power supply, the analog CRT board, and the logic board.  I also removed the keycaps and washed them, and spent some time cleaning up the switch deck of the keyboard.  I did not try remove any of the switches as all the keys appear to be working on this machine!  I wonder if the enclosure design keeps dust out of the keyboard?

Part of the cleanup process was to return to the two floppy drives.  These were unique mechanisms, Epson SD-521 drives.  Like so many times before, the forums have been quite helpful, and I got some good advice about the cleaning.  After cleaning and lubrication, one of the drives is working well (it was previously the B drive, so maybe had fewer hours on it?).  I was able to get the previous A drive ejecting again, but there is a problem with the drive motor which I was not able to easily troubleshoot, so I've set that aside for now.  

As I was troubleshooting, I made an interesting observation about just how small CP/M even when compared to DOS 3.  One of the floppy drives I was troubleshooting was having trouble w/ the head stepper motor but if I manually pushed the head back to Track Zero (on the outside of the disk), then when the computer would successfully boot into CP/M and even give the Directory listing (DIR).  Trying to load a program would lock up the computer since the heads were not able to move to the correct position.  So this is another drive that I've set aside for now.

The machine doesn't look perfect since the two drives are not an exact match, but I'd much rather have the second drive functional than have it look nice but not work correctly.  The final results for now are shown below...

I'm quite pleased with how it turned out.  The highlight so far as been playing a text based Pac Man clone called Catchum...

It's surprising how much fun a text based arcade game can be.  The Space Invaders clone, called Aliens also looks like it would be fun, but there's a problem with the keyboard mapping for that game, so it isn't working on the Kaypro 2X.

Do you have any memories of the Kaypro computer, or suggestions about software to run on it?  If so, please let me know in the comments below.

SuperCard Pro - For Disk Imaging and Drive Repair

Disk Imaging

One of my interests in the Retro Computing hobby has been software preservation.  Trying to recover data off some of my wife's old floppy disks from her college days sent me down a path that's gotten me to the point where I own several different Macs and PCs from the 90s that I use as "Bridge Machines" to get data moved off old floppies onto modern hardware.

I'm also interested in a range of different systems and in having the ability to make and restore disks of any format.  I became aware of the Kryoflux disk imaging system when reading on Sonic Purity's blog on this article that I've referred to in several bLog articles before.  I didn't pursue the Kryoflux because this solution was expensive and because I didn't understand floppy disk technology well enough to be comfortable with flux imaging.   Thankfully this knowledge gap can be easily addressed by a great deal of information on the Web, and since then I have put more time into researching this topic.

One of the few benefits of the Pandemic has been that all the Vintage Computer Festivals have been online.  I learned about Jim Drew's SuperCard Pro from watching Craig Ernster's presentation. at VCF Midwest 2020.  This device is significantly less expensive than Kryoflux.  I didn't buy one right away, but when I got my first CP/M machine and didn't know how, or even if I'd be able to make floppy disk copies with the machine I put one on order.

I've paired the SuperCard Pro with the Asus laptop I use as my retro computer engineering PC and set up a couple of floppy drives, both a TEAC 5 1/4" DD drive as well as a newer 3 1/2" 1.44MB floppy drive.  I have stored these items together so it doesn't take long to have the disk imaging solution up and running on the bench...


So far, I have imaged and restored boot disks for my Compaq Portable (360K Floppy with DOS 3.3), and that worked well using a preset in the software.

Also I've imaged and restored boot disks for my Megatel Quark 100 CP/M computer, again, using a CP/M preset in the software.

Drive Repair

The Super Card Pro has also been helpful for drive diagnostics and repair.  It has a separate screen  for Drive / Disk Utilities.  This allows you to control the drive motor and also the track steppers that move the heads back and forth.  As you can see in some of Adrian Black's videos, having separate control over these two drive functions can help when lubricating and troubleshooting drives that haven't run for a long time.  Using these features of SCP, I've been able to troubleshoot these issues:

Drive Motor Speed Adjustment
Index Sensor Good / Bad
Track Stepper Motor Position
Track Zero Sensor Good / Bad (the Disk Media Test will fail if the Track Zero sensor is not working)

When comparing the functions of the Super Card Pro with IMD, I believe that IMD could also be used to diagnose all of these scenarios, but I find the SCP interface a bit easier to navigate.  One gap with SCP, I have not been able to adjust drive alignment with this tool.  I think the IMD program is the only (easy, non oscilloscope) way to do that.

My latest drive repair was getting a pair of Magnetic Peripherals Full Height DS/DD Drives back up and running for my IBM 5150.  Although these drives are now fully functional the alignment of these drives doesn't match up with the other 360K drives that I own.  Drive alignment is still outside of my comfort zone, but I'm hoping to learn more about that soon so I can get the various drives I own back lined up with one another.

My first CP/M Computer

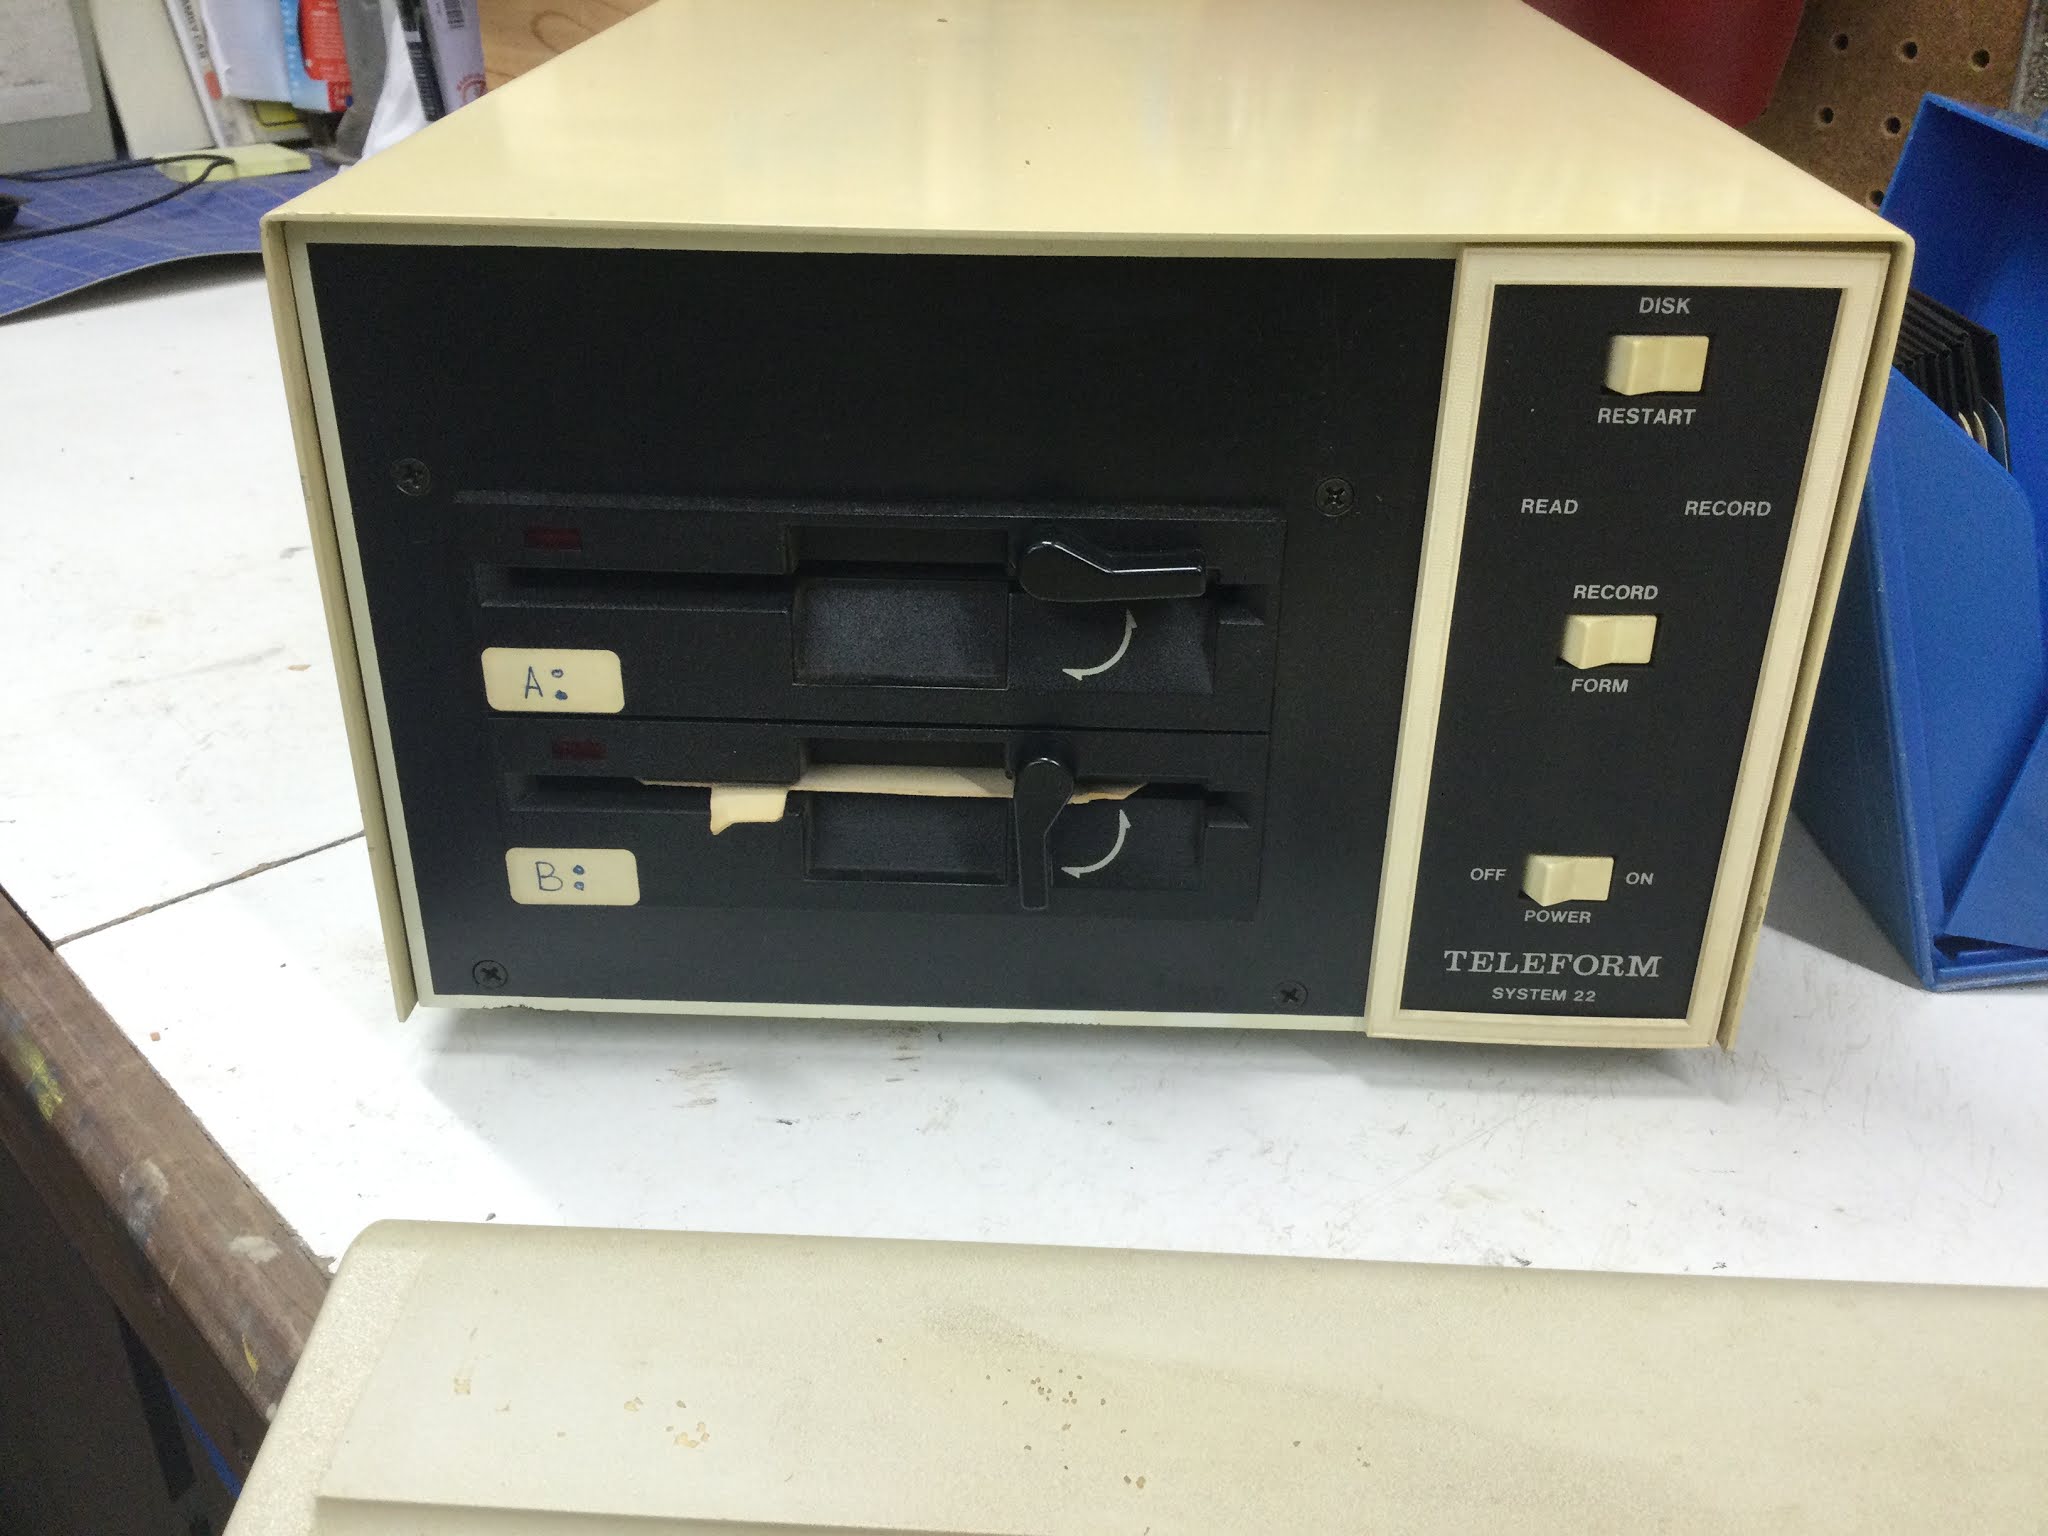
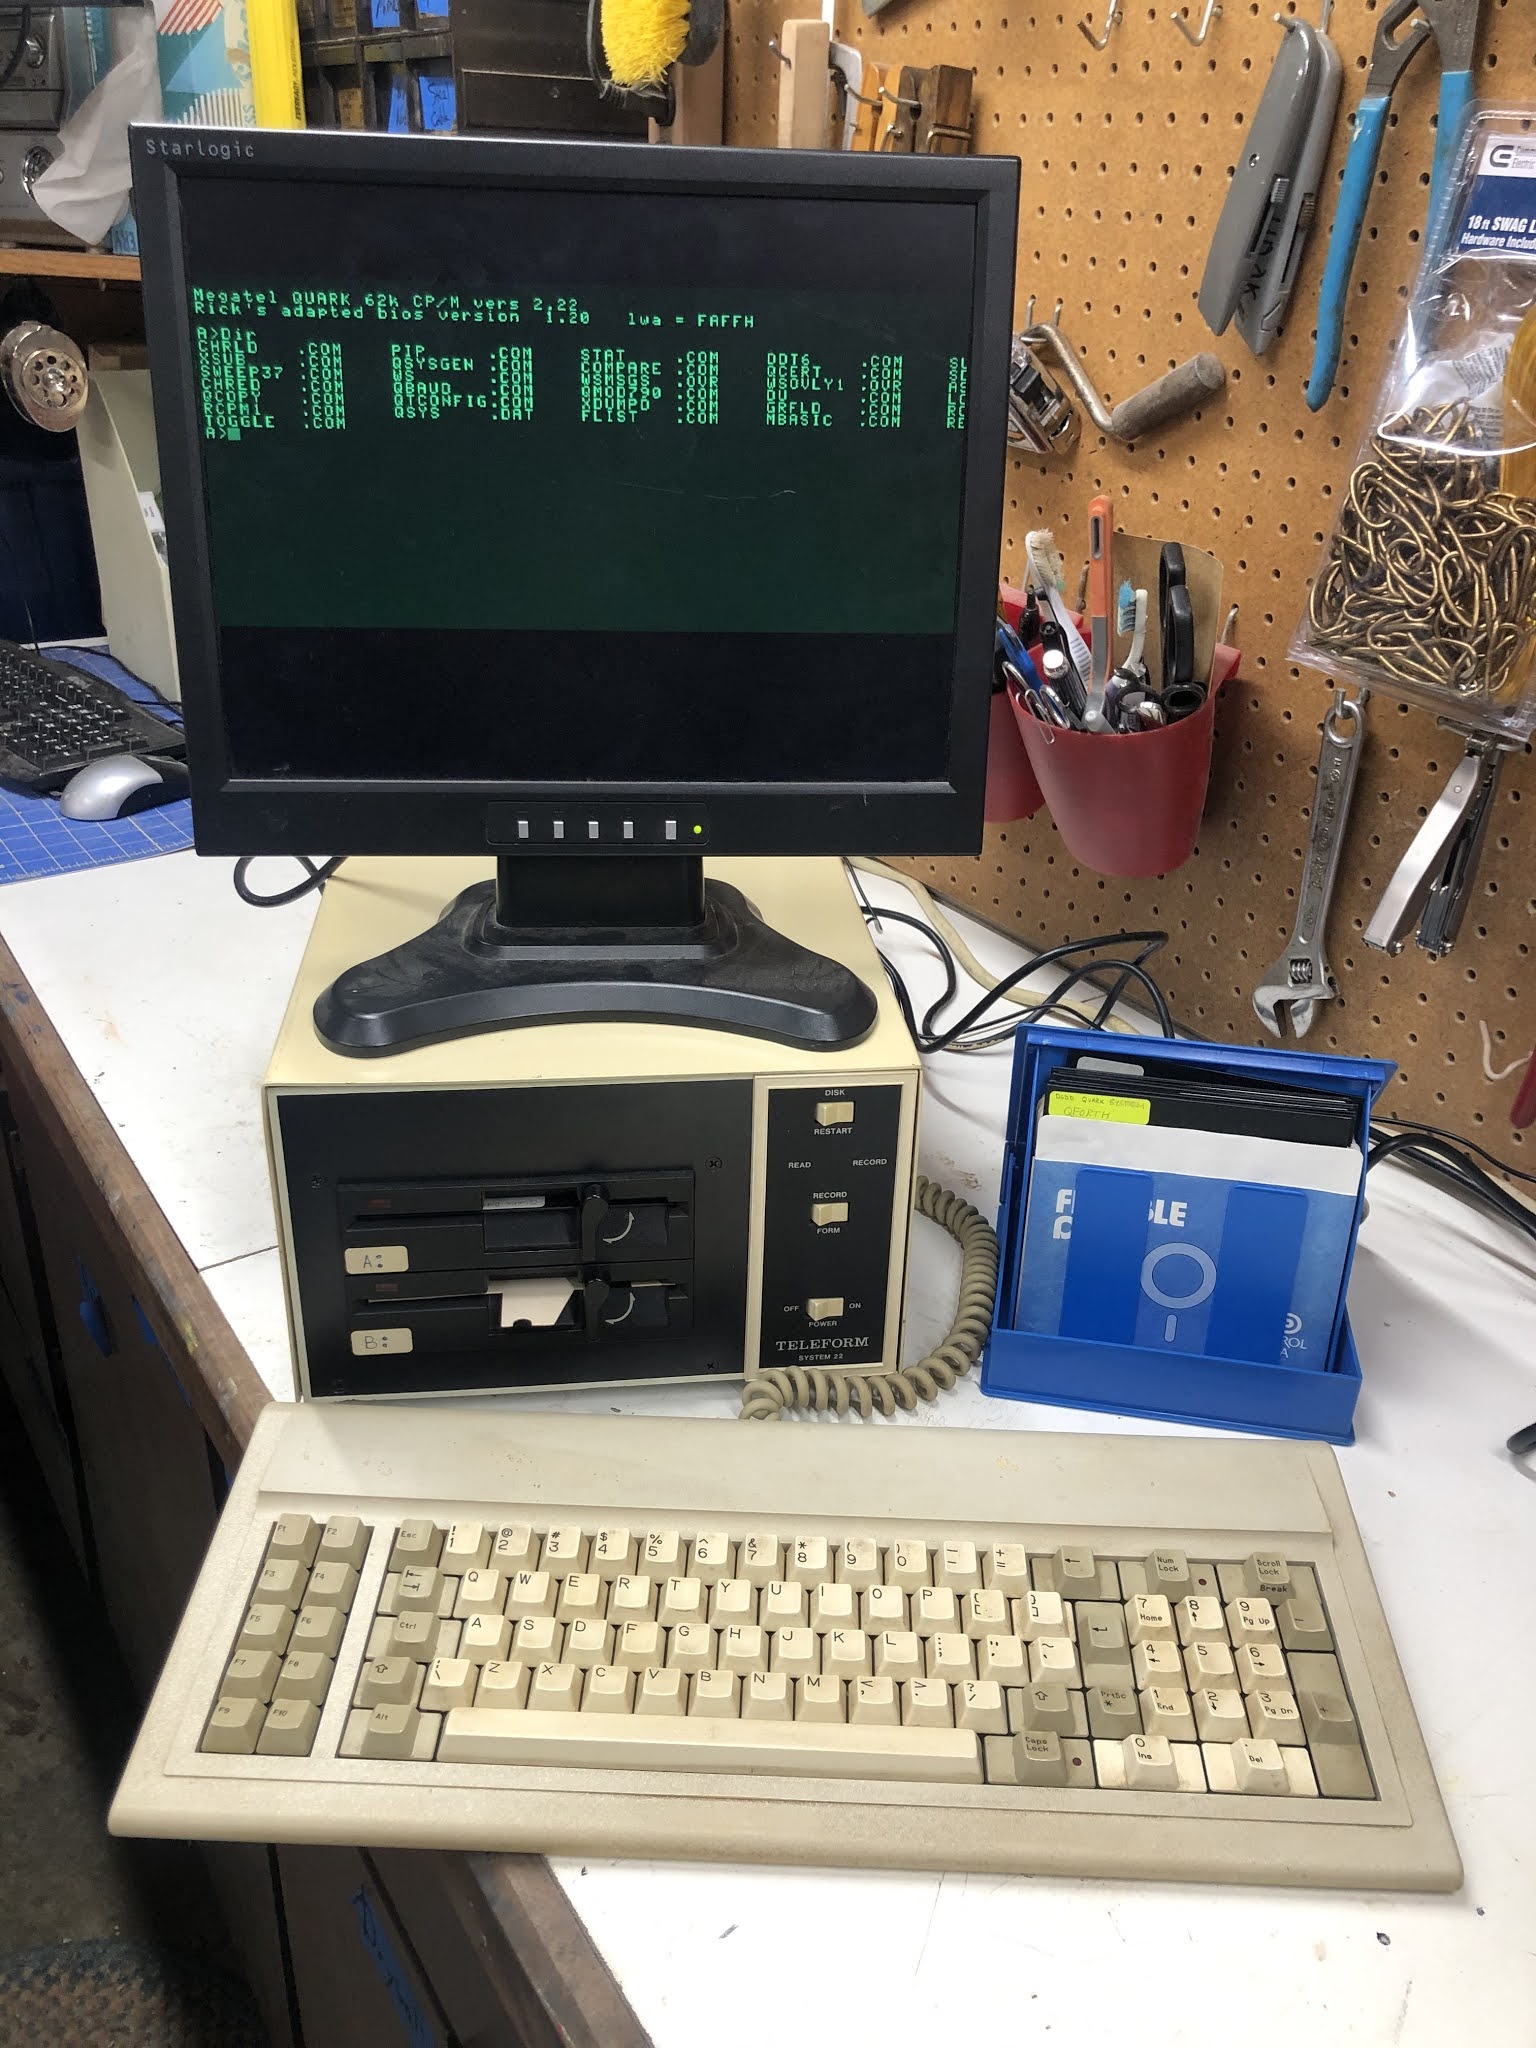
A few weeks ago an intriguing post popped up on Craigslist.  It was for a CP/M computer that someone here in the Minneapolis / St. Paul Metro area had built up from the board level in 1983.  I believe the builder re-used a piece of old test equipment as the Chassis, and perhaps the power supply that was in the Chassis as well, but the computer itself is a Megatel Quark 100 computer.  This was a Canadian firm.  The computer is a Z-80 based system with 128K of RAM (64K available to CP/M), and two Teac 360K floppy drives.  (I'm still not sure what the formatted capacity of the drives is, since I'm a CP/M newbie.)

At some point the previous owner had recycled the Monitor.  I don't have an MDA / Hercules compatible monitor in my collection, so I ordered and waited for an MCA2VGA to arrive from TexElec.

Once I got the video adapter and a 9 pin male to 9 pin male straight cable, I was able to fire the machine up and test it for the first time, it boots and runs well...


There appears to be an issue with the Horizontal Sync timing on the MCA2VGA adapter, as the last few columns of text on the right hand side are cropped.  Also the video is compressed vertically too about 1/2 of the height of the screen, so I'm not sure what's going on there.  The manuals for the Quark mention specific horizontal refresh timing, but I'll have to dig in on what the timings are supposed to be for MDA / Hercules in order to understand why this isn't working on MCE2VGA.  I'm also on the lookout for a period correct monitor.

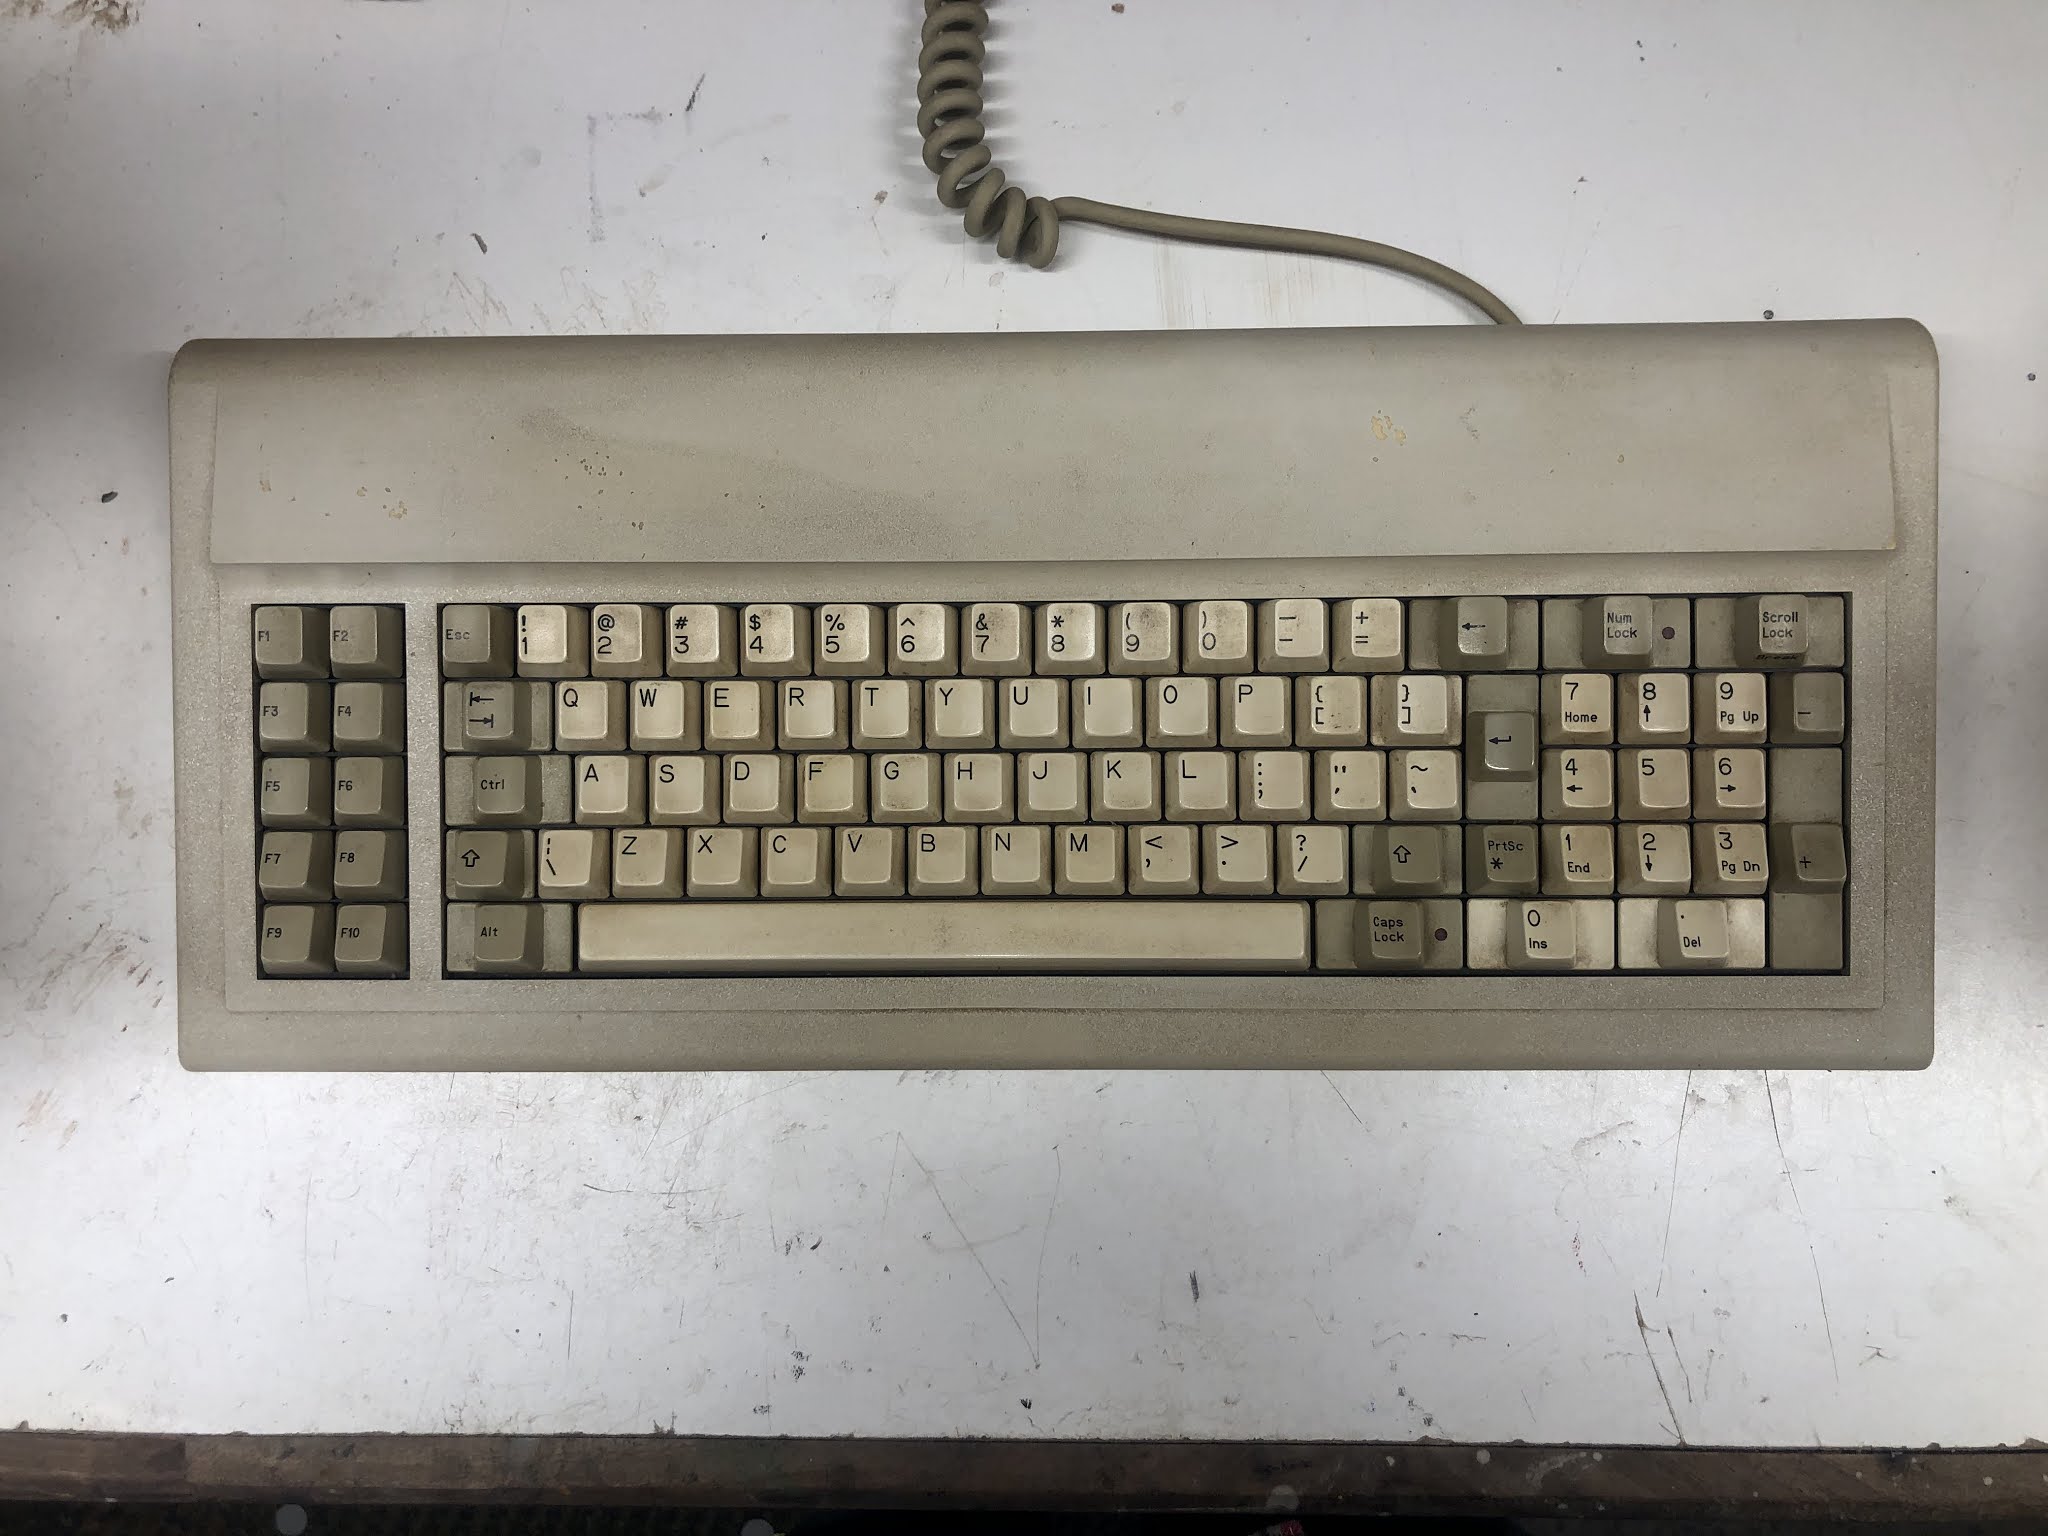
The next challenge was the Key Tronic foam and foil keyboard.  Several of the keys were not working...

I've restored a similar keyboard before on my Compaq Portable from the same year, and once again TexElec came to the rescue with their Foam and Foil replacement pads.  Waiting for the pads to come in gave me the opportunity to take the board completely apart and clean the housing and keycaps.  After replacing the pads and re-assembly, the board is working like new, although there's some wear and tear...

I'm quite happy with how this turned out given that the keyboard is over 35 years old!

The next challenge was that the builder of this system mentioned to me that the BIOS is on a Floppy Disk.  The computer won't boot at all without the customized, appropriate BIOS for the peripherals that are wired to this specific build of the Quark.  This left me with a nagging fear that as the floppy disks fail, I'd loose the use of this classic computer.  I'll write a separate bLog article about my new SuperCard Pro Disk Imaging setup, but too make a long story short, I was able to image and restore Bootable CP/M disks for this machine, and capture and archive all the disks that came with this system, so that is a relief.

That wraps up the story so far for my first CP/M computer.  It's working well enough that I can dive in and start learning about CP/M, the precursor operating system to DOS.  There's alot of good information online, and I'm planning to start with "The CP/M Handbook with MP/M" by Rodney Zaks.

On my To-Do list for this computer:
Find an appropriate monitor that can be adjusted to show all the text, or determine why MCE2VGA isn't displaying the image correctly.
Find a Go-Tek equivalent for 360K 5 1/4" drives so that I can replace one of the floppy drives with a solid state drive.

Please let me know if you have any suggestions for me about this computer, or any questions, Thanks!