I made a return to Retro Computing in 2018. Or it may be more accurate to say that it's something I've always enjoyed doing and never stopped completely but in 2018 I started spending more time on the hobby and became aware that there were others out there who also enjoyed fixing up and using old computers. This happened primarily through finding YouTube channels like The 8-Bit Guy, LGR, and Adrian Black and connecting locally with folks at Free Geek Twin Cities. In 2018 and 2019, I acquired just a few machines and authored a few articles on my bLog about my adventures in Retro Computing but things changed in 2020.
Just before the pandemic started in early 2020 I purchased my first compact Mac, a Macintosh Plus from Free Geek. I ended up buying and repairing alot more machines during and after the lockdown. Some were machines that I'd used and had nostalgic memories like Apple IIe and Macintosh PowerPC machines but others were older machines like the Bell and Howell Apple II Plus and the Tandy Model 102 that allowed me to learn more about repair, the use of the machines, and the history of the development of the machines. During 2020 I participated in Vintage Computer Festival Midwest for the first time. It was an online show and I watched most of the talks, learning about disk imaging with the SuperCard Pro, that some people use their crawlspace for storage of Retro Computers, and many other interesting topics.
In 2021 my acquisitions mostly happened all at once, I bought a large lot of Apple Laptops from my friend John Bumstead. I spent a good deal of my hobby time during that year processing through that lot of computers. I kept many of the machines and also sold many of them. it was an amazing experience that helped me understand which of Apple's portable machines I enjoy repairing and using most. I still have some PowerBooks from the early 2000's, the "Peak Fastener" era for Apple that I haven't processed yet, this is my least favorite era of Apple Laptops. But during 2021 I was also able to acquire some machines that I'd had little or no exposure too like an IBM 5150 that I purchased from Facebook Marketplace and a Next NextStation computer from VCF Midwest. I also repaired or built up a handful of beige box PCs.
During 2022 I got on a bit of a Commodore kick. The VIC-20 was my first computer that we had at home, so re-acquring one of those was quite nostalgic for me, but I also acquired older hardware, like a Commodore PET that needed extensive repair, and newer machines like C64 and Amiga 500. I also acquired my first Digital Equipment Corporation (DEC) hardware including a little know CP/M machine called a DEC Robin, and a more common DEC Alpha computer. I missed VCF Midwest in 2022, but I continued to buy and build beige box PCs.
2023 was another enjoyable year for me in Vintage Computing. During the year after searching for several years I was able to acquire a Gateway 2000 486 PC, which was my first PC that I had during college. I got my first of the Original Home Computers from 1977, a Tandy Radio Shack Model 1, getting it clean was a major chore, but I'm glad to have one. I also got a Kaypro 1 '86 an 8-bit Atari Computer, and several Unix workstations from the 90s including a Sun and an SGI Indy, so there was a great deal to learn and explore in 2023. I was also able to attend VCF Midwest once again, this time as an exhibitor. As an exhibitor I didn't acquire many new machines, but I was able to find many parts to help move projects along or complete systems I'd already built up.
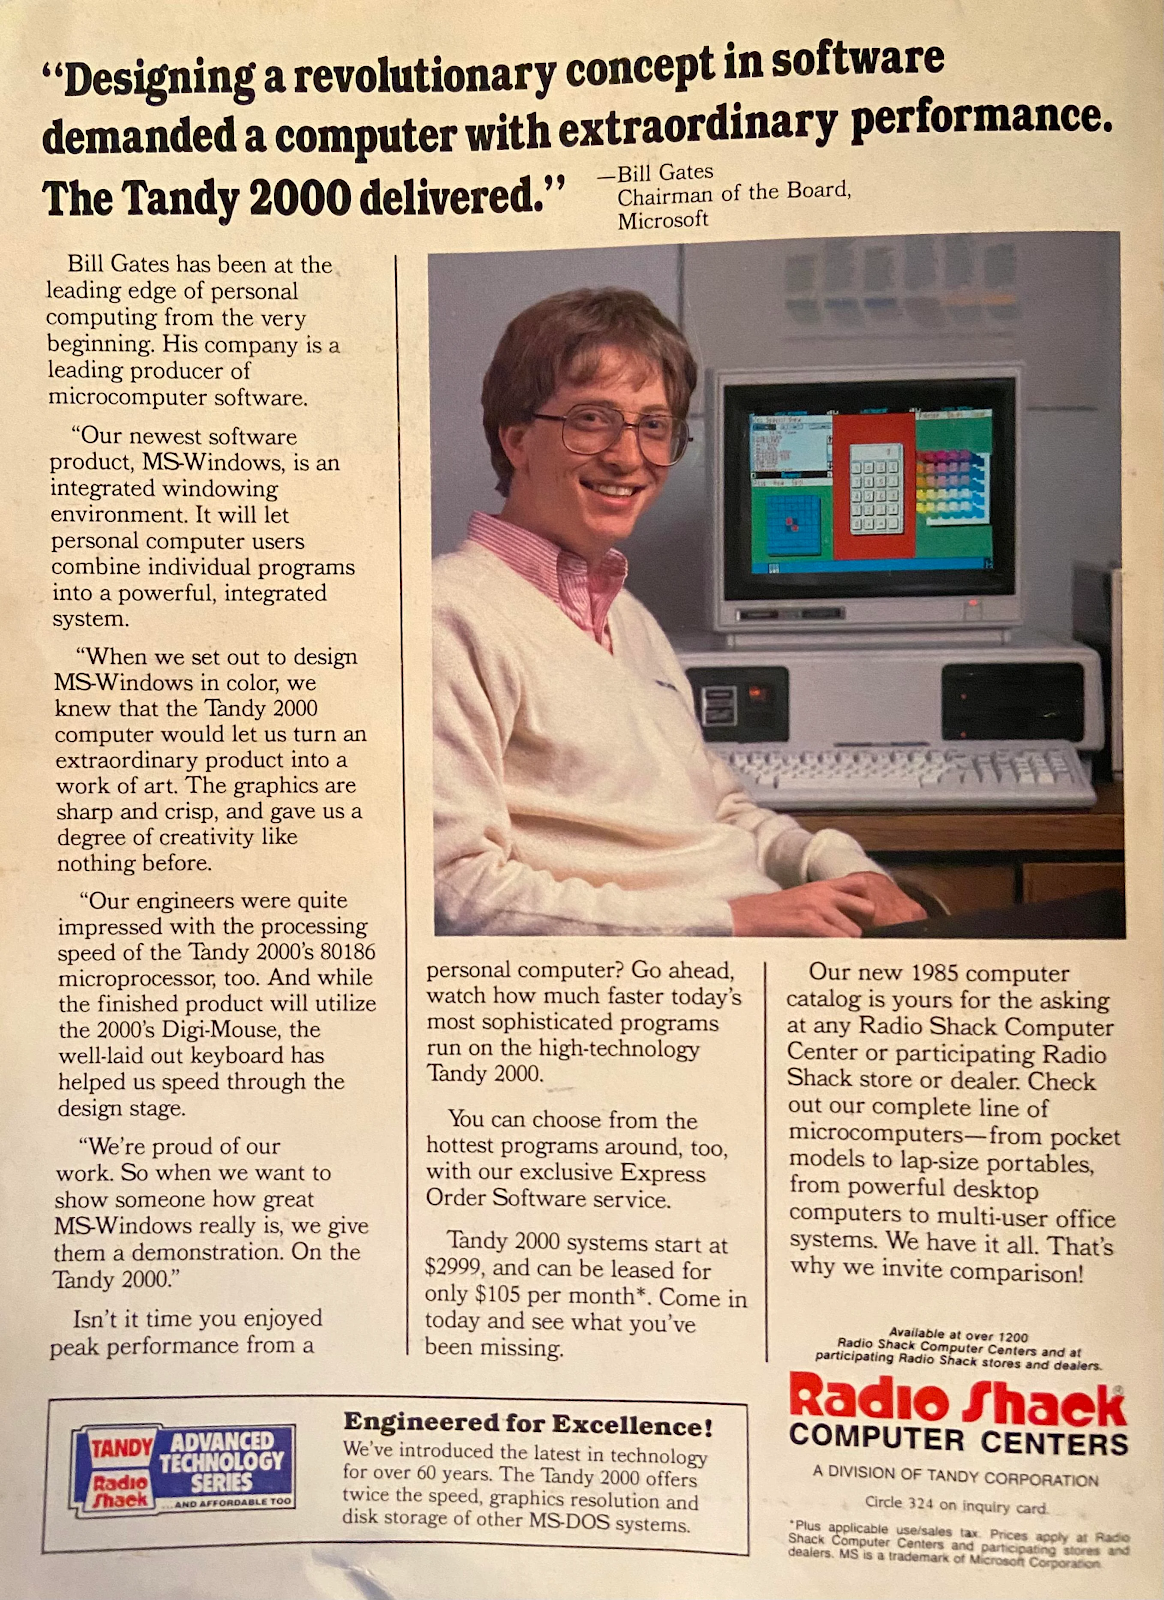
As I think about 2024 the IBM RS/6000 is a highlight. I had purchased one as a parts machine from Free Geek in 2023 and ended up failing in my repair attempt. I thought I wouldn't get another chance but in 2024 a generous donor offered one on the forums and I took him up on it. The machine runs great and joins my collection of Unix Workstations. Also, it was made in Minnesota. On the history / nostalgia front I acquired a Kaypro II computer, which was something I'd been looking for for a while as my grandpa used to have one of these. The Compaq Portable III was a fun and challenging repair, and now I have the first three Compaq Portables. I also got to go back to VCF Midwest this year, and one of my kids came along, so that was fun. The Tandy 2000 repair was my largest repair effort of the year but my friend and I both came out of that with two working Tandy 2000 computers, which is a very interesting early MS-DOS machine.
So heading into 2025 what aspects of Vintage Computing will I do more of and what will I do less of? What do I enjoy doing more and what do I enjoy doing less?
I enjoy learning about computers that are "new to me", and I get just as much (or maybe even more) enjoyment from going back in time as from going forward. I enjoy repairing computers and learning about alternate operating systems. I want to understand what it was like for the people using the computers at the time, so the CRTs, the Keyboards, and the Disks are important to me and I like that to be original. I don't mind at all if we can find a way to replace the hidden hard disk drives with reliable solid state storage because we can't use the computers at all if they won't boot up, but that is my primary exception and I like to keep things period correct as much as possible.
In general, I'm not a fan of computer gaming. I know that's unusual since gaming is the "killer app" for most retro computer enthusiasts, but I've just never been a huge fan of computer gaming. I also don't like overclocking vintage hardware or installing period correct processor upgrades, although more RAM is always nice. In my mind, if you want a faster retro computer, just buy one from a few years later.
Because they are inexpensive and easy to repair I have gotten quite a few "Beige Box" PCs. Some of these have historical significance like the IBM PC 5150 and the Compaq Portable I and others have nostalgic significance like my Gateway 2000 486, but I am running out of space for storage and I need to sell many of these PCs and stop collecting more "Beige Box" PCs.
During 2023 and 2024 when I exhibited at VCF, I was able to exhibit computers that tell a story and to sell computers at the same time. I enjoyed that event alot and I hope to continue to be able to participate in VCF Midwest as well as some of the smaller local meet ups as time and budget allow.
Knowing which computers I'm willing to give away or sell also helps me think about preserving the ones I want to keep. Several times this year when I got a computer out of storage that I had put away in good working order it came out of storage not working and needing repair. So I've been on the lookout for spare machines for some of my favorites. I don't need 3-4 of a kind, for me two seems like the sweet spot for space vs. long term usability, but unfortunately I cannot extend this policy to CRTs they are just too bulky.
Another lesson I've learned is that if I let my project list get too long, or if I am feeling too much pressure about a certain repair then it makes the hobby less fun. If I have had a project on the list for over a year and I haven't gotten too it, it's OK to let that project go and sell or donate the hardware back to another collector or Free Geek and move on to something that's more exciting.
So what is next for vintage computing in 2025? I have a stack of three Sun Ultra 5 and 10 workstations out in the garage that are "on deck" for repair, expect a bLog article about that in early 2025. I have lots of little projects planned, small improvements to computers I already own. In 2024 I've been posting about these smaller projects on Twitter / X and enjoying the community there, so I plan to continue doing that.
And for sure, I will keep an eye out for interesting projects and try to stay focused on buying computers from my wish list...
Apple II (original, not plus not e)
Apple Macintosh PowerBook 100
Apple PowerMac G5, late 2005, dual 2.3Ghz model A1117 (last air cooled G5)
Apple Macintosh SE/30 or Logic Board
Toshiba Libretto Palmtop PC
Grid Systems Laptop w/ Plasma Display
IBM Thinkpad T30 or A31 (Last model with Serial Ports Built In)
Commodore PET 2001 (chiclet Keyboard and Tape Drive)
Tandy Model 100
Digital VaxStation 3100 (w/ monitor, keyboard and mouse)
DEC PDP-11/03 or similar 11/23, etc.
Digital PDP 11
68k Apollo Workstation
68k Sun Workstation
Thanks for reading this long and rambling article, if you've made it this far I wish you a Merry Christmas and a Happy New Year!


%20Small.jpeg)

%20Small.jpg)


.JPG)
%20with%20MacMegabytes%20Small.jpg)


