My latest project is an orange Clamshell iBook restoration. I was very fortunate to get two of these from a friend who pulled them from a recycler here in Minnesota.
I've been looking for one of these for a while, but so far had only the "Yo-Yo" power supply and the system restore CDs. Unfortunately, when I went to do power-on testing, I discovered that the plug on the power supply was damaged and un-usable. Another retro-computer friend was able to hook me up with a replacement power supply, and then the testing could begin. I did bit of preliminary cleaning just so I could handle the machines, labelled the machines A and B, and began the triage...
System A booted up the first time. The system was crashing on boot, but when extensions were disabled (holding down the shift key on boot), it booted and ran normally.
I tried booting the restore CD off the CD-ROM, which normally does take a very very long time, but this boot was hanging, too. The screen was intact, and I did a careful inspection of the case plastics.
System B has a smashed screen, but the backlight still lit, and based on the Bong and the Hard Drive sounds, I did think it was booting up all the way. I also did a careful inspection of these case plastics.
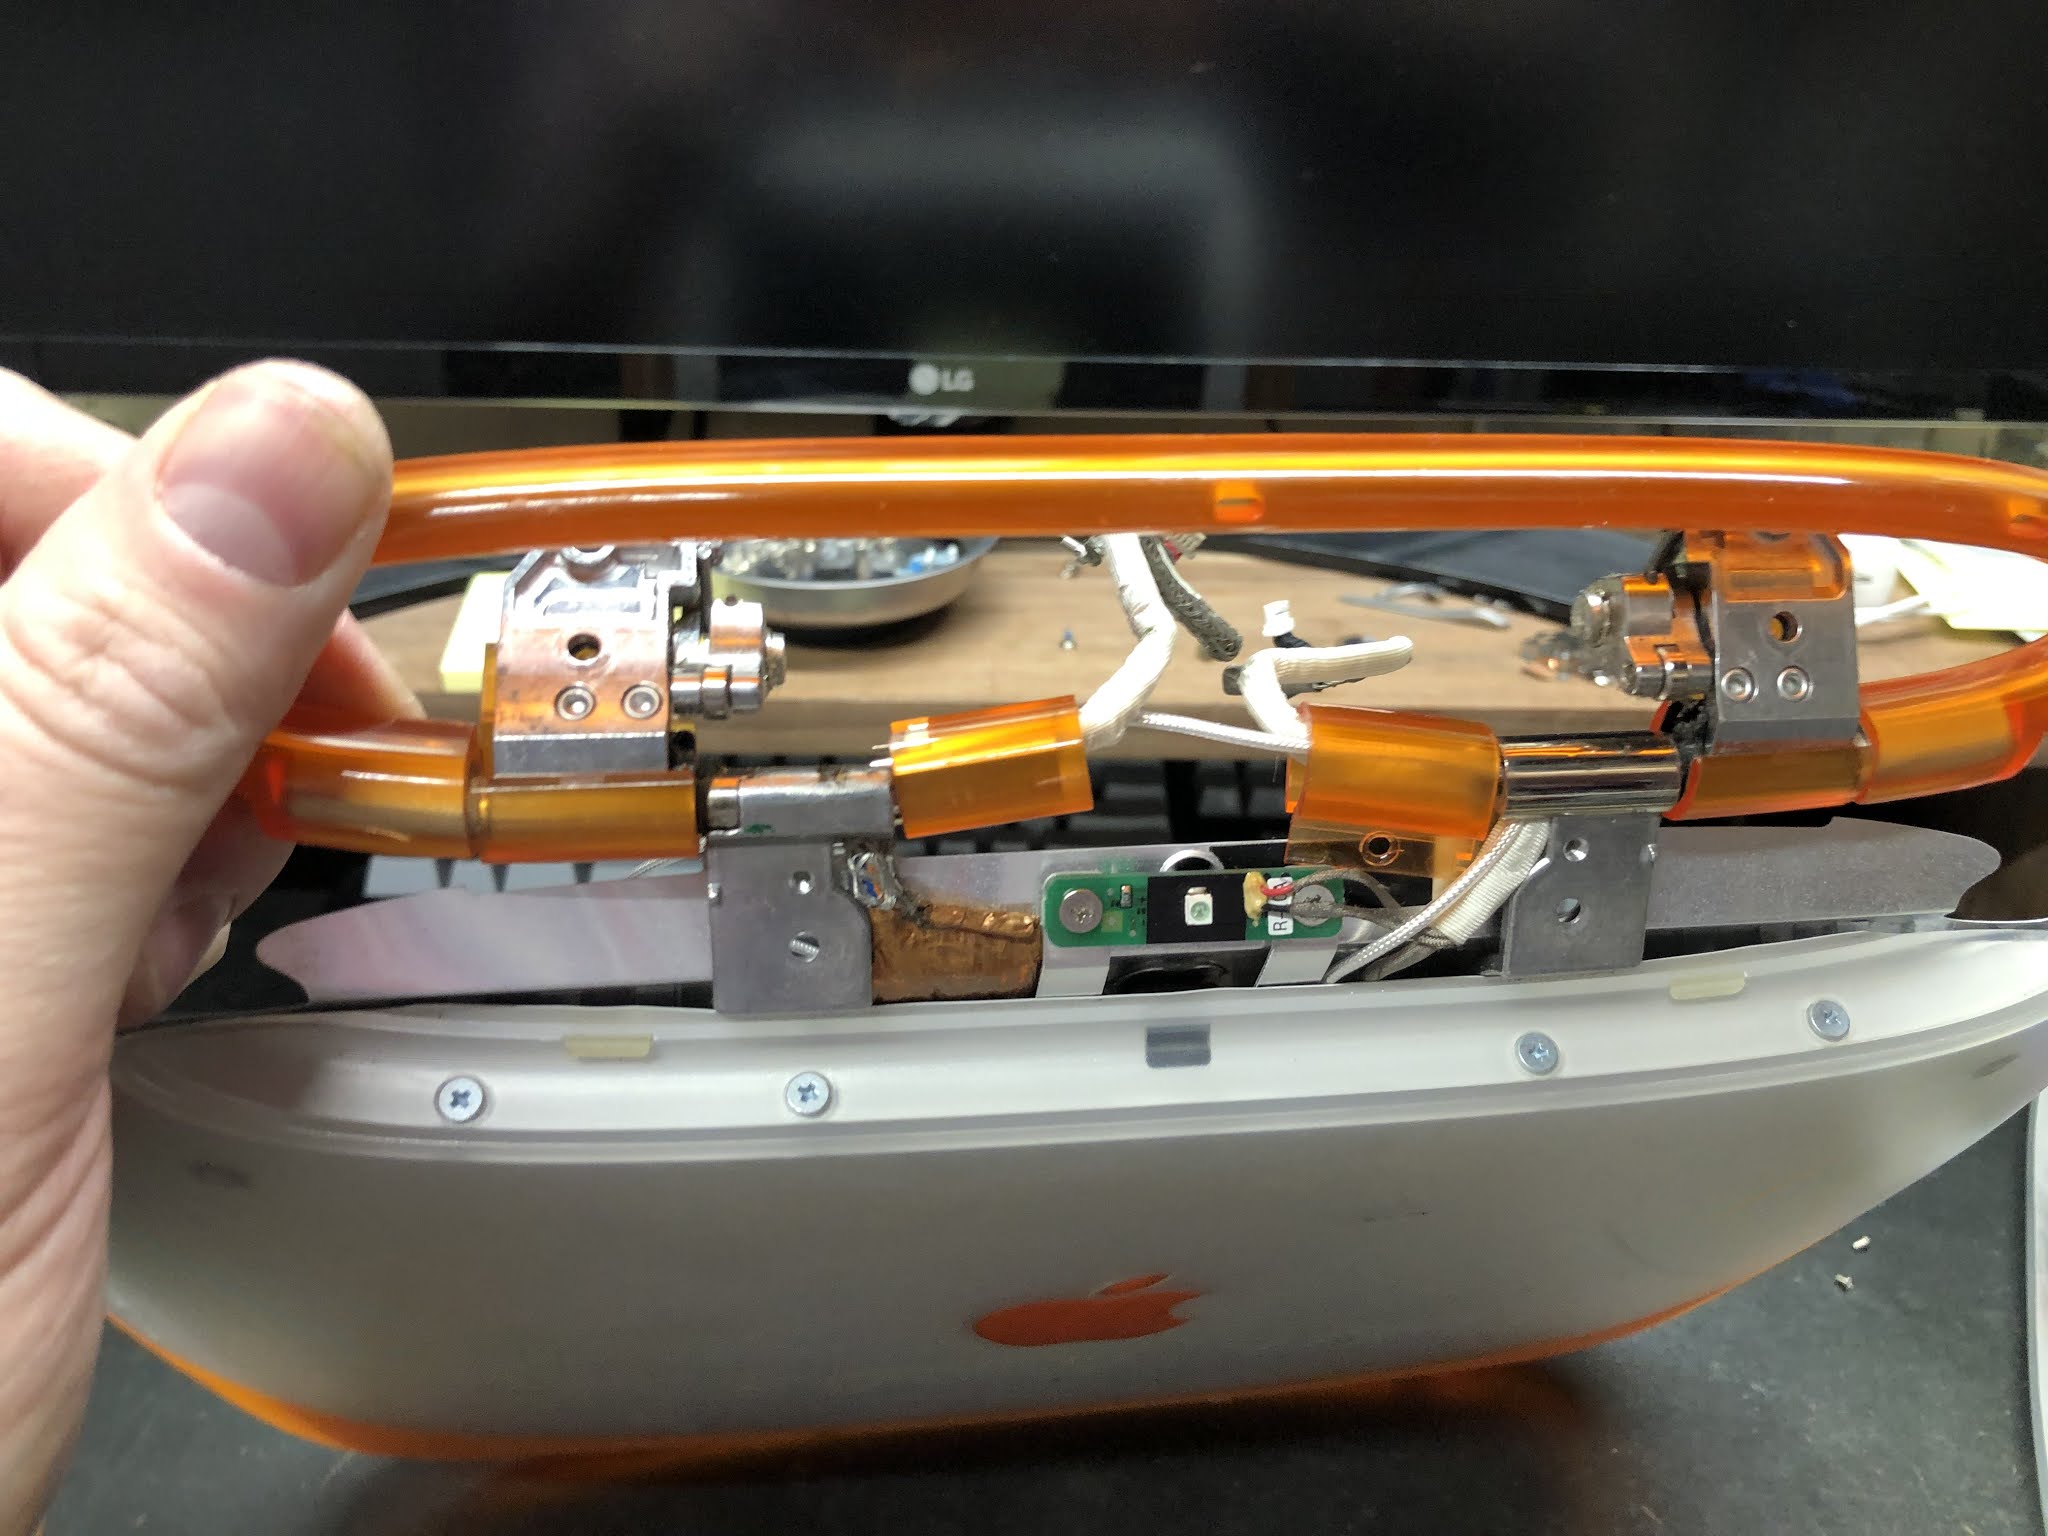
The machines were so dirty that there was dirt inside, and being that the plastics are translucent, I thought that the only real chance we'd have to get one decent looking machine was to tear down the machines to the point where the electronics were free from the case parts so I could wash the case parts with soapy water in the sink. iFixIt has some great teardowns for the Clamshell that get you almost all the way there, with logic board removed and the bottom case completely empty. There are also instructions about removing the front bezel from the screen, but not removing the display module from the top case, so I'll outline that here in case anyone else is looking to do this moving forward:
Removing the Display Module from the iBook Clamshell Top Case:
Step 1: Remove the Top Case from the Bottom Case using the iFixIt procedure here.
Step 2: Remove the Bezel from the Top Case using the iFixIt procedure here.
Step 3: Remove the bottom trim plate from inside of the carry handle (two Torx T8 Screws)
Step 4: Remove four Phillips screws from the back of the display module under the carry handle
Step 5: Remove four Phillips screws from under the metal sheet at the top of the display module.
Carefully de-route the two antennas on the left and right side.
The display panel should be loose and can be pulled downward to free it from the top retaining tabs.
Assembly is the reverse, but note that it's tricky to get all four tabs at the top of the display module underneath the tabs in the housing. If you don't do this the bezel won't seat correctly in the top case.
Cleaning:
During the inspection, I had discovered that some parts of one case were in better condition than others, so I decided to take both computers completely apart and wash all of the parts before deciding which ones looked the best for re-assembly. The only case part that could not be immerse for cleaning is the case bottom top half because the trackpad is attached by heat stakes and cannot be easily removed and reattached, so I carefully cleaned this part taking care to avoid the trackpad.
Reassembly:
The good computer ended up being a mish mash of parts from Machine A and B. As I was rebuilding it, I installed an SD to IDE Adapter to replace the HDD with a 16GB Micro SD card. Since the machine had only a 6GB HDD, this ended up being an upgrade. The machine has no cooling fan, so the HDD was the only moving part, and now that we have no moving parts the machine should be that much more reliable.
I'm very pleased with how the completed machine looks...
None of the machines in my collection is a museum piece, but I actually prefer it this way since I don't have to feel bad about using the machines, and more importantly letting other people use them too and experience was computing was like in 1999 / 2000.
Everything works on this machine. I've loaded it up with software and games, and I've got a 512MB RAM SIM on order to max it out. At that point I may load Mac OS 10.3 or 10.4, but it's only a 300 MHz machine, so I'm not sure if I'll do that or not.
One thing that I've enjoyed setting up on a couple of old machines now is the ProtoWeb project, using these instructions from RetroTech Chris. Because Macs should be able to browse the web like it's 1995, too. Thanks for the tip, Chris!