I’ve recently tried Retrobrighting for the first time. This is the process of restoring yellowed plastic to its like-new appearance. There are many videos online showing this, including The 8-Bit Guy and others.
The technique relies on immersing yellowed plastic parts in Hydrogen Peroxide while exposing them to UV Light.
Finding Hydrogen Peroxide during the pandemic was a bit of a challenge, but the 8-Bit Guy recommended Sally Beauty supply for #40 Developer, that seems to work well, as it’s more concentrated than what you’d get from the pharmacy, which is normally 2% concentration.
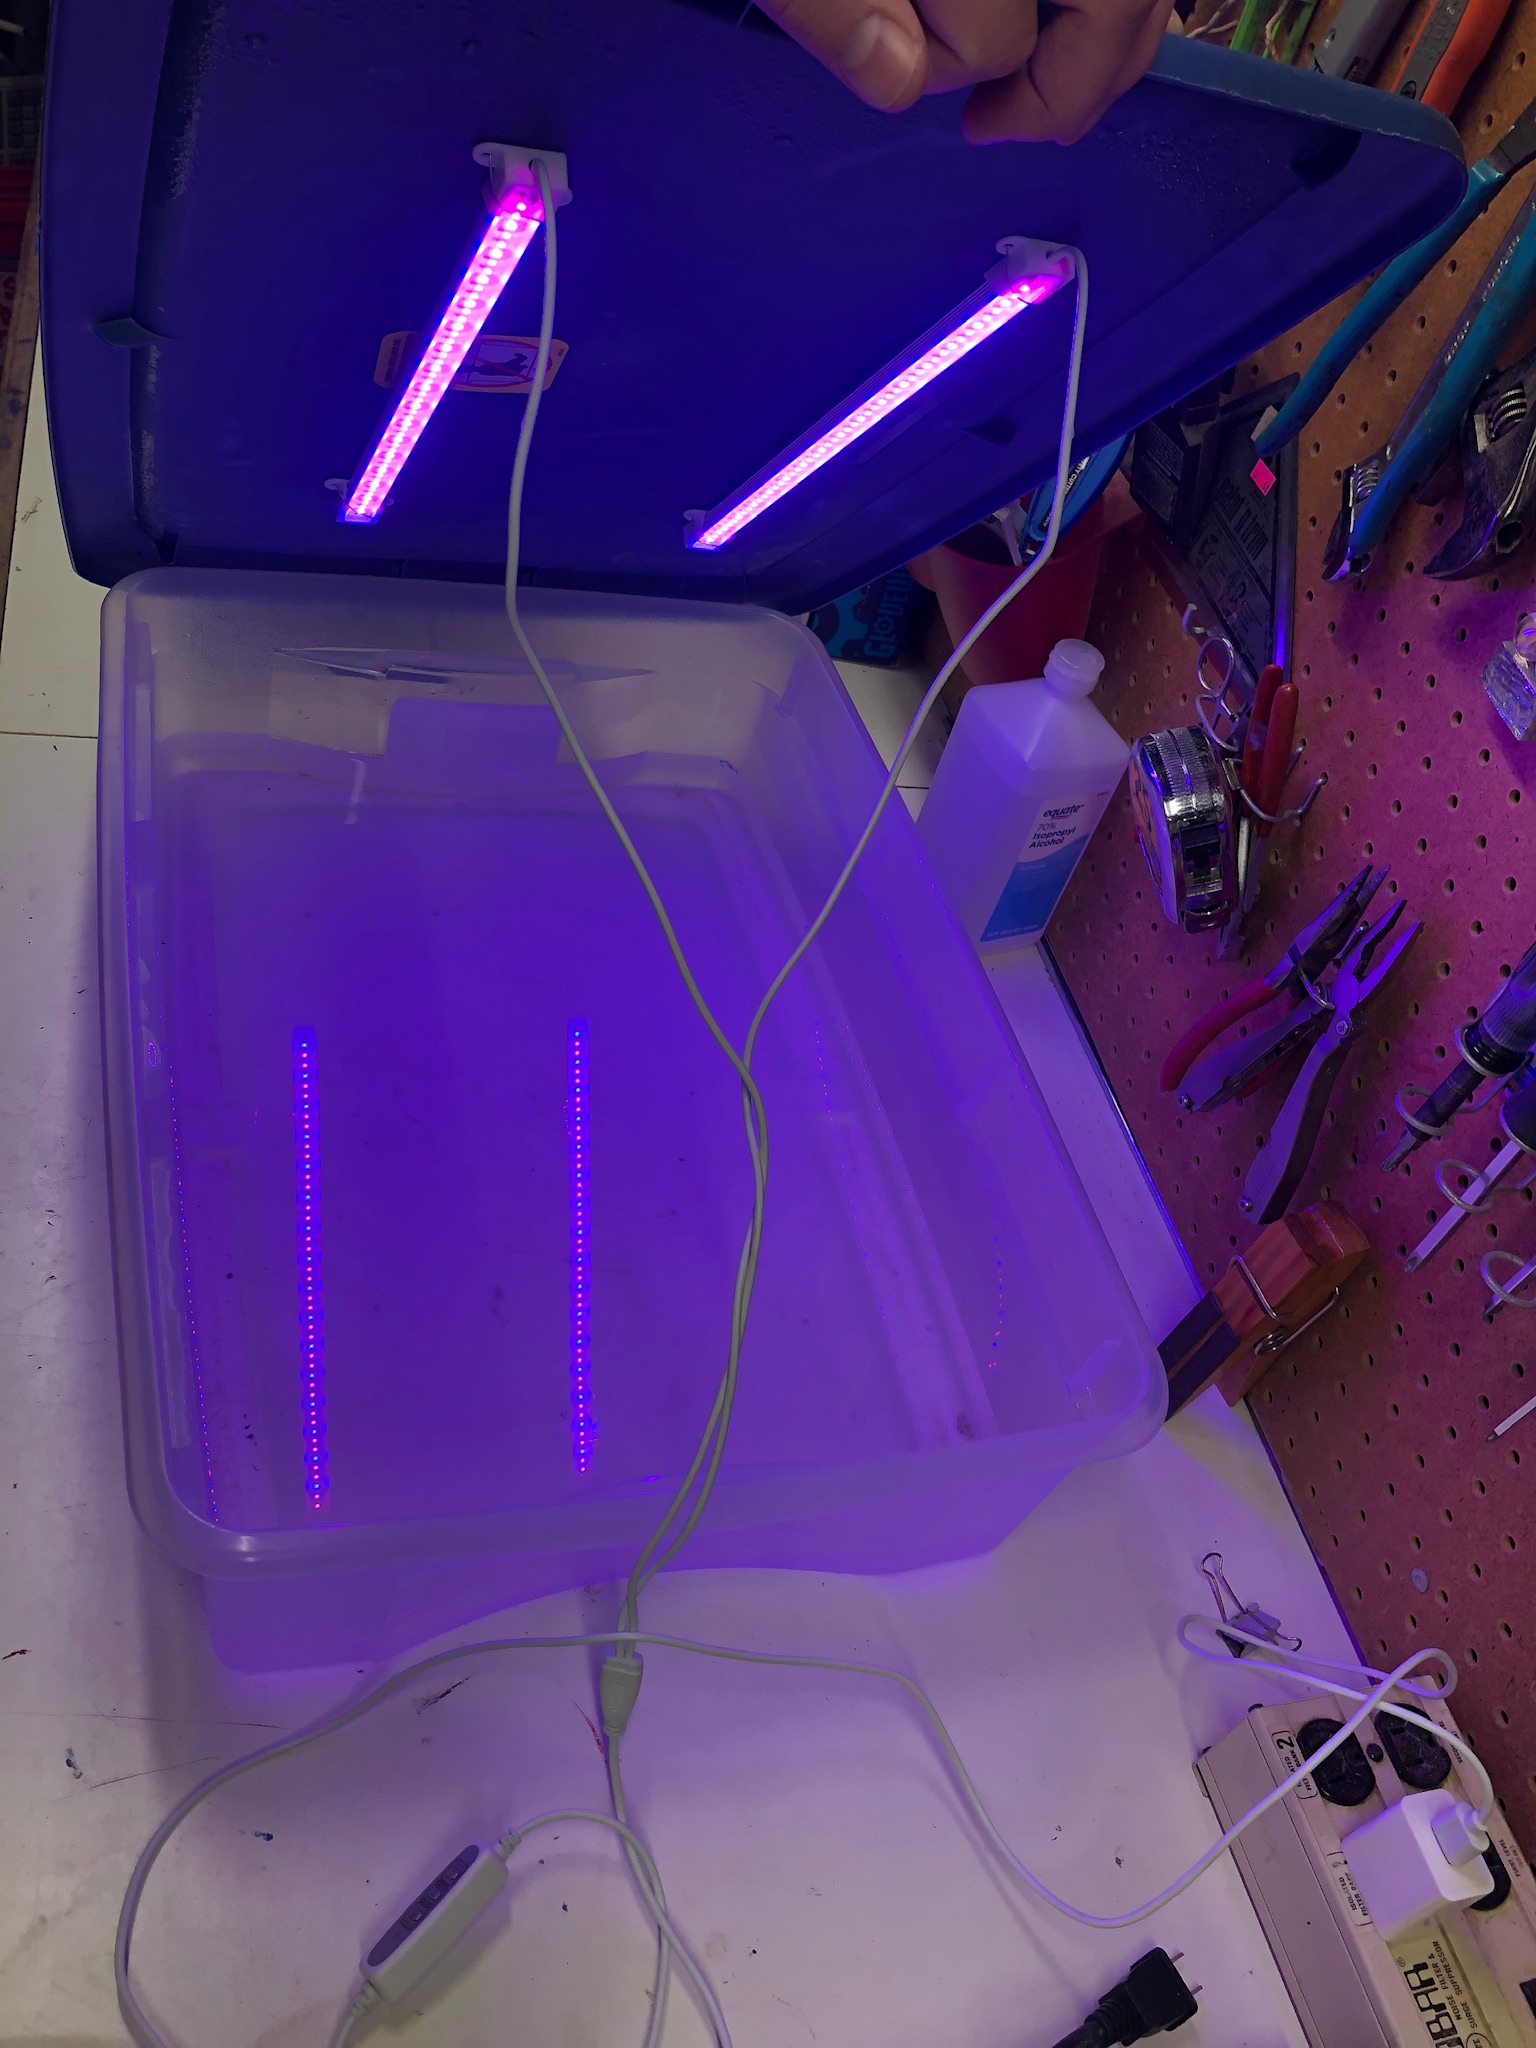
I was able to re-use some LED based grow lamps that we had here already. Since my first item was a Keyboard I was able to use a shallow tote for this first experiment, and installed the UV LED strip lights on the lid of the tote, as shown here...
The most yellowed item in my collection at this point is a classic Apple ADB keyboard M0116, with lovely Apls switches. Here’s what the keyboard looked like before...
And After...
This is very gratifying result, as the keyboard looks fantastic with the early 90s platinum macs, like this Classic II...
It looks like they were made to go together, I’m really happy with the result.
A few weeks later, I tried the Cream method on some larger items, the housing of an Apple Portrait Monitor and an Macintosh IIsi. This was on a sunny summer Saturday, so this time I did the treatment outside. It only took a couple of hours.
Unfortunately, the first time around the finish looked a bit splotchy. I redid the treatment again a second time an it came out quite nicely...
So, the retrobright activities will continue. I may need to find brighter lights and a bigger tank, as winter is coming in Minnesocold and the outdoor retrobrighting activities will have to come to an end.
Let me know in the comments if you’ve ever tried retrobrighting, and what has worked for you?