Over the last weekend or so, I’ve been working on PowerBook G3s from the large lot of computers I’ve mentioned in a previous bLog article. This has been lots of fun, both a great learning experience about repairing this hardware, and after the repairs are complete an excellent opportunity to learn about using these systems, as I only used desktop Macintosh computers during this time period.
The largest number of systems that came in this lot were PowerBook G3s. I have had this type of system on my short list for quite some time, but hadn’t got enough hands on experience with them to even know which one I’d like the best.
I started with the Wallstreet machines, the first of the G3 PowerBooks. There were 10 of these systems...

It was quite a bit of work tearing them all down because they were in really rough shape, so a lot of them had to be separated from the top and bottom, and also I had to tear down and combine parts for one of the display panels. Sometimes I had to combine parts from 3 or 4 different smashed systems to get back to one working machines, but like any challenge, it’s very gratifying to have gotten two working systems with Active Matrix screens...

These look pretty nice on the inside when they are open, but the display top covers are rough. I'll be on the lookout for new ones.
I was also able to recover another two working Wallstreets with Passive Matrix screens...

It’s been interesting to install Mac OS on these machines (Mac OS 8.6), and see the differences between the Passive and Active Matrix screens. I think the Passive Matrix screen on the 1400cs was superior to this G3 screen, but it may just be differences in the specific units that I have here (these backlights tend to shift colors after they get alot of hours on them.)
Moving ahead in time, there were 6 Lombard (Bronze Keyboard) G3s...

These were easier to work on, as they were in somewhat better shape. There were only two display modules that had not been smashed, so I knew right away that I would only need to get two systems working, and here they are running side by side...

I installed Mac OS 9.1 on these after reading about a problem with the Sleep mode with earlier versions of the Mac OS.
Any last but certainly not least, the Pismos. There were four Pismo machines...

These were in similar condition to the Lombards, much better than the Wallstreets. But with only four machines, I was only hoping to get one "runner". However, there were two functioning display modules in the lot, and so I was able to build two working machines, and here they are running side by side...

The display module on the right is significantly brighter and has better color than the one on the left, so I've swapped that display onto the machine that had Max Ram (1GB). This was an almost unthinkable amount of RAM back in the day, and I've taken a page from Sean at Action Retro's book and ordered an IDE to SATA drive adapter to put some super fast flash storage in this machine.
But, to come back to which is my favorite, I do think the Wallstreets are pretty cool. It was such an interesting and amazing time between 1998 and 2000 when the speed more than doubled. I also have a soft spot for "last of" machines and the Pismo is the last portable with a SCSI port. So I guess I still can't come back to which is my favorite. I'll have to pick out the best one from each lot and spend more time trying to figure this out.
In the meantime, after repeating this process over and over again, I’ve developed a workflow for working with larger lots of machines like this. I will share my experiences in case this could benefit others. First, I'd read up about the model that I’m working with using both the official Apple Service Manuals and also looking through the iFixit tear downs.
Then, I’d go through and separate the display modules from the rest of the laptop, like this...
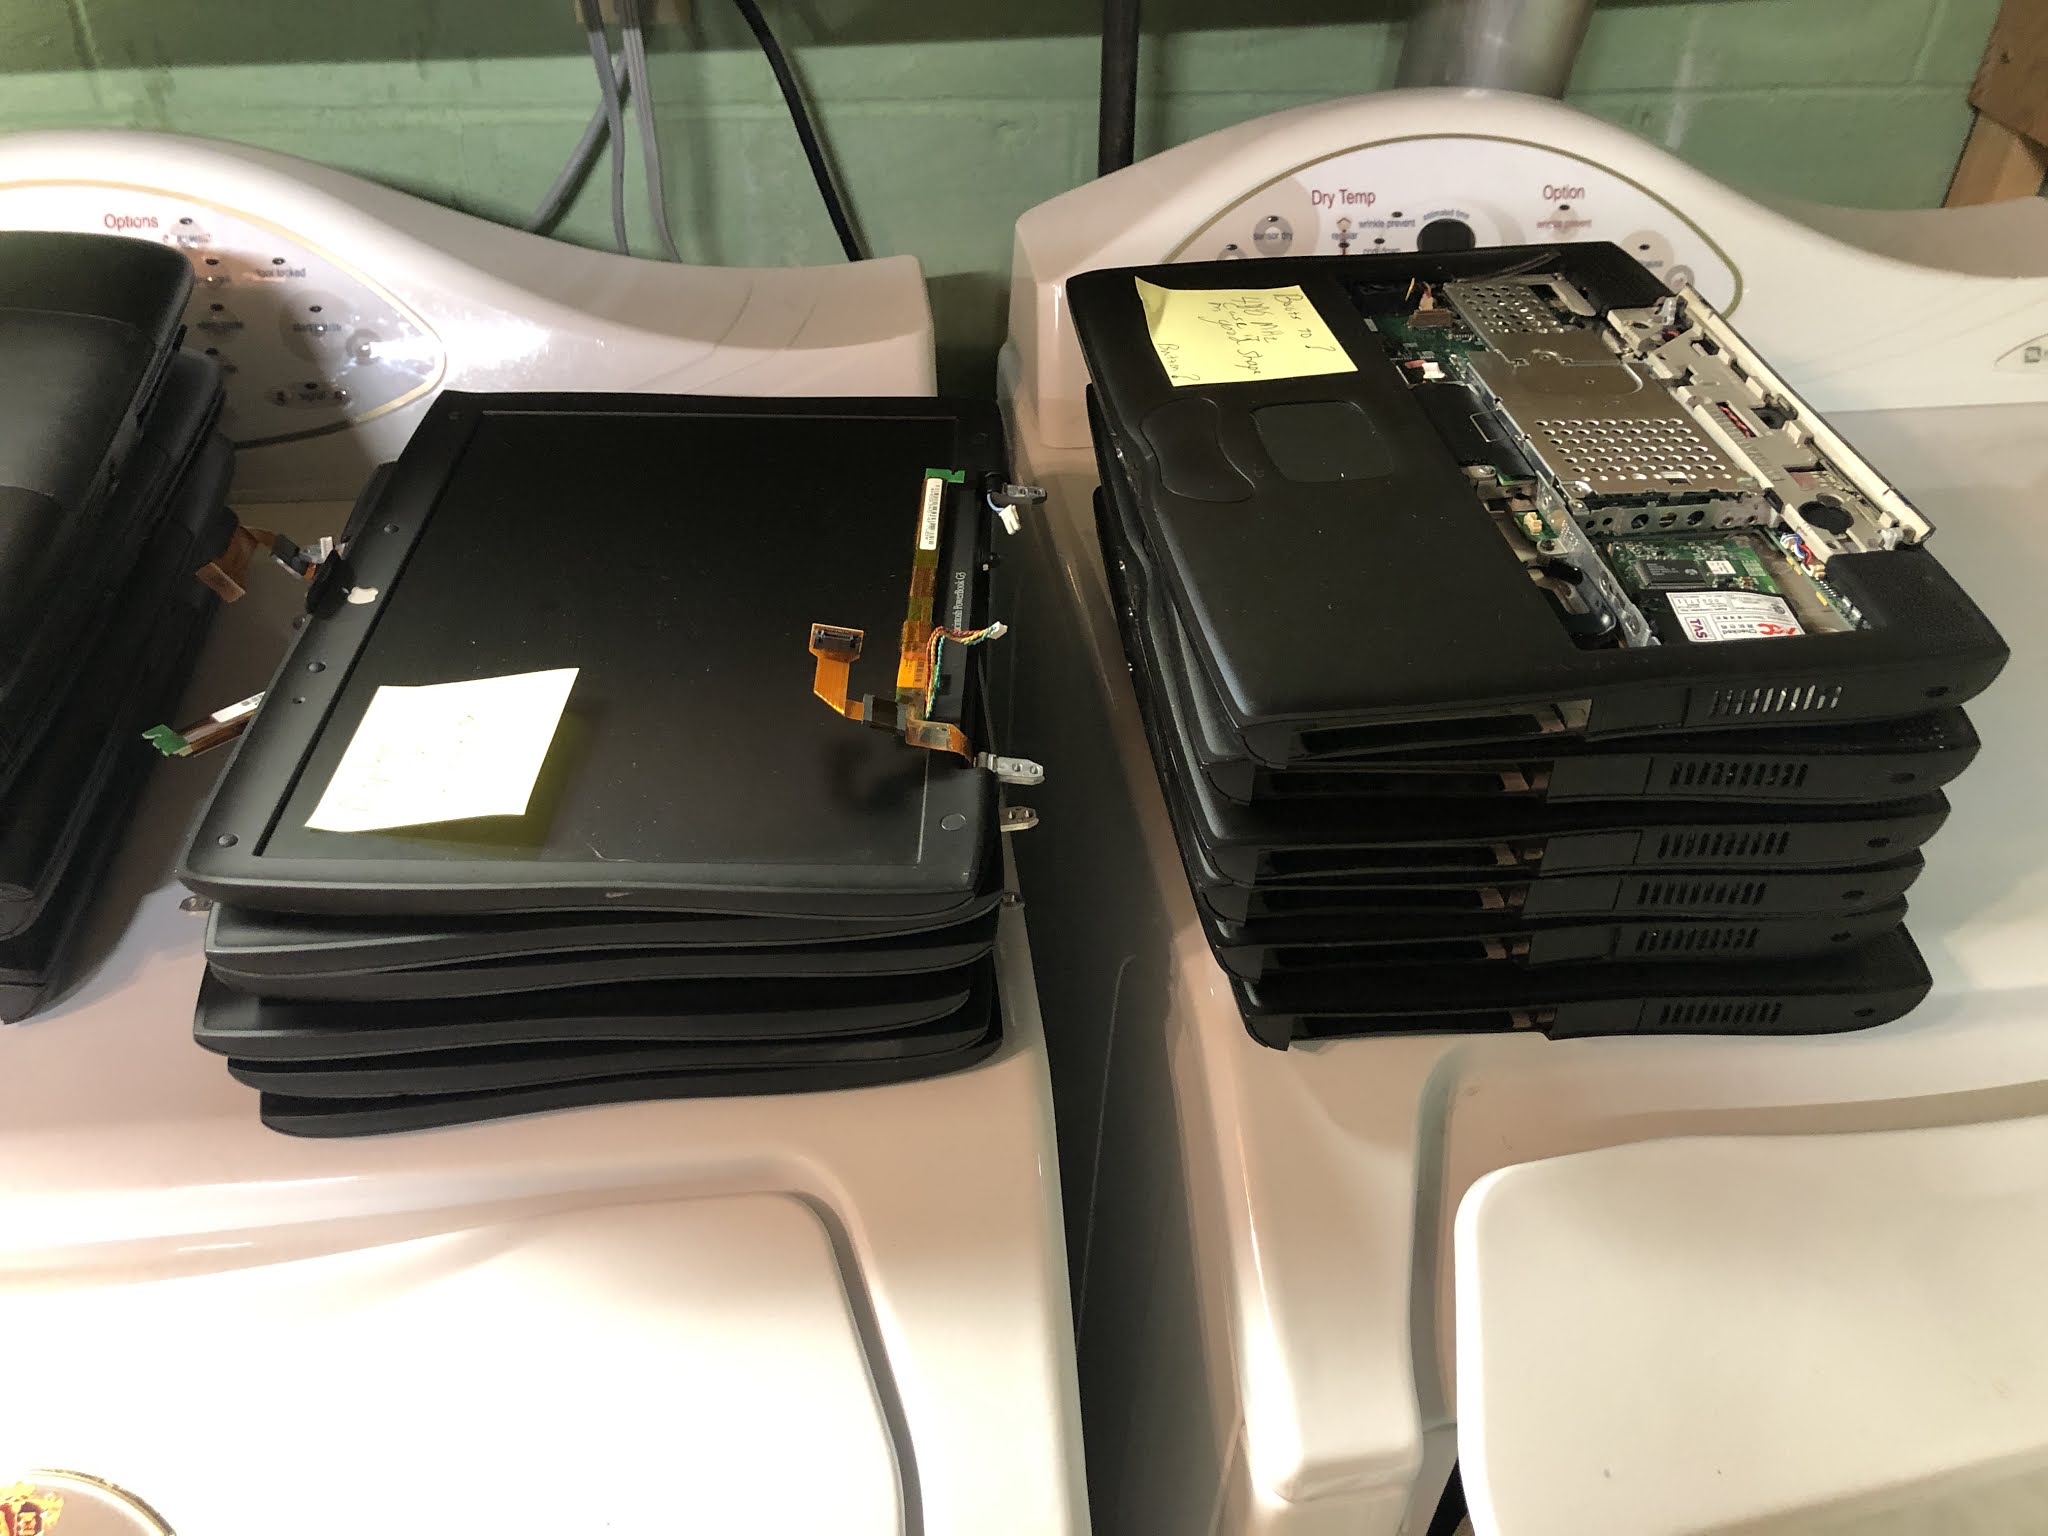
Once I'd identified one good screen and laptop pair, that could be used for troubleshooting through all the screens.
Once the screens were dispositioned, then I'd work on the bottom half. If needed, several bottom units could be taken apart and combined together to get something that looked OK and was working.
It’s useful during this process to understand just how little of the computer is required in order to get the Boot chime from a G3 Powerbook to check if progress is being made. No display is required, no HDD is required and only minimal RAM, so you can test that the assembly is going OK without completely reassembling the computer. The power board and sound card (if it is separate) are both required to get the Boot Chime.
I'll be using this system as I move into troubleshooting the Silver PowerBook G4s next. The effort to recover these machines grows larger as the complexity (and number of fasteners) increases on the newer machines, so I am fortunate for the opportunity to start earlier in the PowerBook history and work towards the more recent machines.


No comments:
Post a Comment